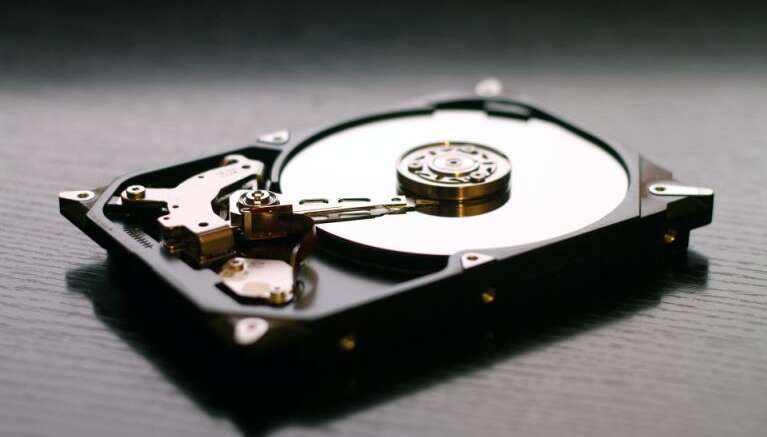
Hard drives are an essential part of any computer, allowing users to store a vast amount of data, documents, and media.
However, when a hard drive is not functioning correctly on a MacBook Pro, it can be a huge setback! Thankfully, there are several ways that you can troubleshoot and repair a bad hard drive on your Mac.
Determining the Issue
First things first: determine what kind of problem you’re dealing with. Is the hard drive responding slowly?
Are you seeing errors when trying to save or open files? Perhaps unzipping RAR files on Mac is no longer possible? Maybe the system cannot read media files? Or is the disk simply unresponsive? Depending on the answer to these questions, different routes may be taken in order to resolve the issue.
Checking the Fragmentation
The most common culprit for slow performance is fragmentation. Fragmentation occurs when files become scattered across the disk due to storing too much data without proper organization or cleaning up old unused files.
To fix this issue, you can use the built-in Disk Utility tool on macOS or download third-party software such as iDefrag or Drive Genius to defragment your disk and optimize its performance.
Dealing With Corrupted Sectors
If you’re having trouble saving or opening files because of corrupted sectors, then try running a disk check utility like Disk Drill or Stellar Phoenix Mac Data Recovery which can scan and repair any damaged sectors of your disk drive.
You may also want to try resetting your PRAM if this doesn’t work (this will reset basic settings).
Fixing Faulty Cables
If Mac’s hard drive is completely unresponsive, then it could be due to faulty cables or connections within the MacBook Pro itself.
Disconnect all external devices from your laptop and make sure all laptop connections are secure (including power cords).
Also, confirm that nothing else has been plugged into the USB ports as this could cause interference with the hard drive’s connection. Once everything has been checked out run “Apple Hardware Test” from System Preferences > Startup Disk > Apple Hardware Test > Run Tests (if available).
Scanning for Viruses
Sometimes viruses can cause problems with hard drives as well so it’s important to make sure your Mac is protected from malicious attacks.
Installing antivirus software is the go-to choice.
Another option would be downloading free virus scanners that scan for known threats in downloaded applications and email attachments before they’re opened on your computer.
Replacing Parts
If none of these methods seem to work, then it might be time for more drastic measures: replacing parts within the system itself, such as memory chips or processor boards, if they have gone bad because of their age and usage over time.
Getting rid of worn out connectors by taking apart certain components within your system; changing faulty internal pieces like fan motors which could impede airflow causing overheating; exchanging out broken logic boards which could prevent proper communication between other components; replacing faulty optical drives that have malfunctioned due their age; even replacing entirely faulty internal HDD/SSD bits should all else fail.
Sending the Computer for Repairs
You can also take your MacBook Pro off for repairs at an Apple Store where technicians will assess any physical damage done to internal components caused by liquid spills or general wear & tear over time.
However this process can take weeks before being returned, depending on how busy service centers are at any given moment, so bear that in mind.
Attempting Safe Boot
Prior to dismantling any of the parts in your laptop, it is advisable that you first attempt a safe boot.
By pressing and holding down the SHIFT key while restarting or powering up your computer, you can initiate this process – indicated by the progress bar showing on screen after POST has finished loading.
Safe boot will scan all startup items including services and apps for potential faults which may be present; if successful, these issues should then be repaired! If the behavior no longer persists, then it is likely that an application loaded during the normal startup sequence was causing this.
In such a case, reinstalling those apps should solve the problem. If not, move on to taking further steps as previously mentioned in this guide.
Contacting Independent Engineers
Lastly, if the above solutions do not seem enough – don’t fear! There are many talented engineers out there who specialize in computer hardware repairs & replacements offering reasonable rates – reach out to them online via finder sites.
Look up reviews & contact them beforehand asking about costs associated with fixing specific model laptops like yours – ultimately the decision remains yours, but one thing’s sure – leaving a bad HDD unattended won’t do much good either way so better take action now before things get worse.


Be the first to comment on "9 Steps to Fix a Bad Hard Drive on MacBook Pro"